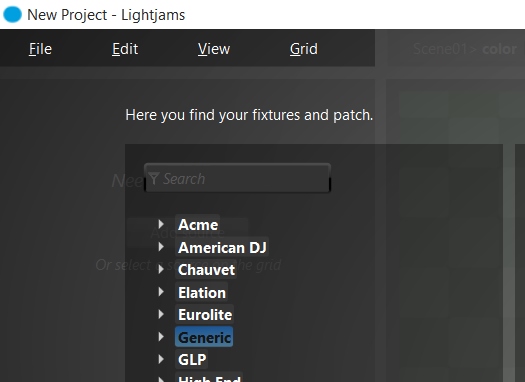
Here are a few sample projects to show you how to achieve various effects. Each project has multiple grids representing one effect each. When opening a project, only one effect will be activated. To activate the other effects, go in the View/Grids menu to show all grids and push the activation sliders up.
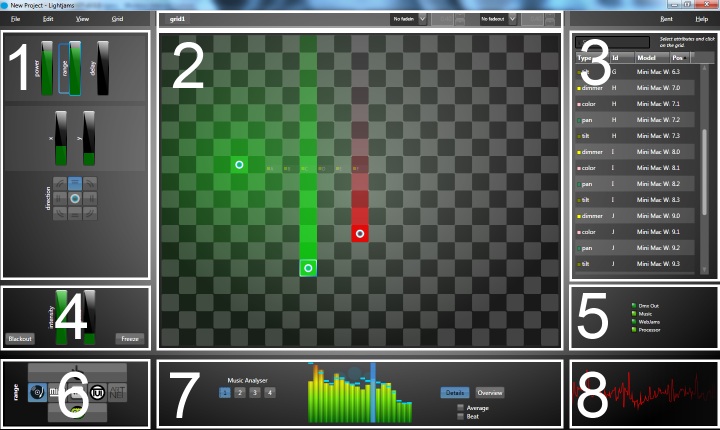
Press Ctrl-M to see the final result in the monitor. By the way, the monitor just uses the current grid's layout (how the attributes are positioned) and shows in a square the state of the corresponding fixture.
Strobes: Various strobe effects ranging from a simple on and off to ripples strobing at a varying speed.
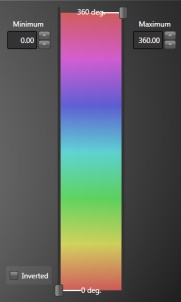
Color Chases: Multiple variations of the famous rainbow effects and other ways to smoothly change hues. Using 25 RGB fixtures.
Common Moving Head Chases: kicks, ballyhoo, stabs, fading pulse, random strobe, fireworks, line chase and rainbow. These are the chases described in the great book called "The Automated Lighting Programmer's Handbook"' by Brad Schiller.
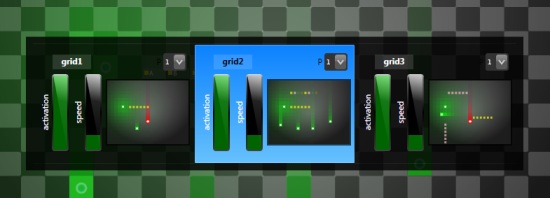
Effect Sequencer (cuelist): Sequence your lighting effects and activate them one at a time using a timer or a MIDI keyboard. In this case we'll sequence 3 scenes using 16 moving heads. The sequencer grid acts as the maestro telling which effect is active. You can modify it to activate the next effect at each music beat or any other event. Press CTRL+G to get an overview of all grids.
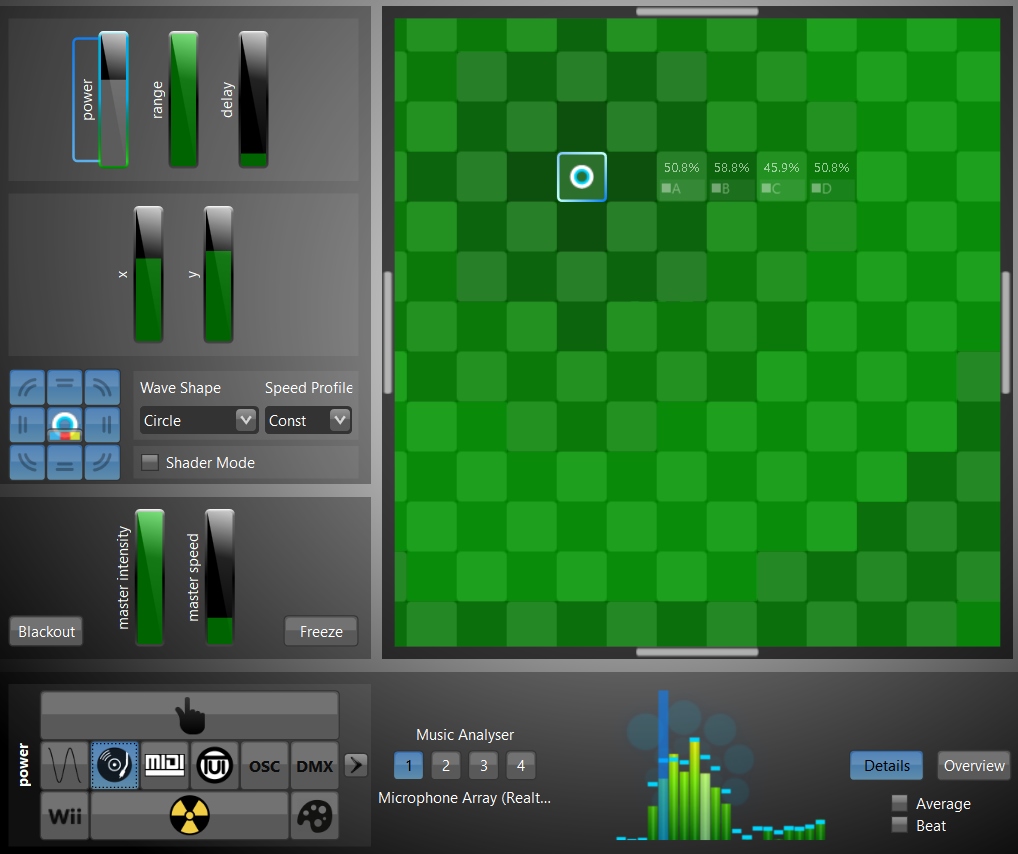
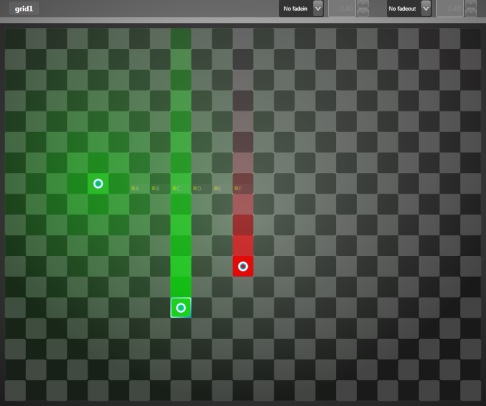
Chase: Simple chase activating different fixtures at each step. Select the source and look at its x slider. You can try different shapes and by modifying its formula, you could advance the step at each music beat or Wii remote movement etc...
Tracking Mode - Retaining Previous Attribute Values Between Cues: Show how to create cues so that an attribute keeps its value until another cue set a new value.
Moving Sources: Two sources move around and activate the lights close to them. You can easily imagine controlling the sources with your fingers and a touch interface. To do so, just select the x and y sliders of the sources and link them to values coming from TouchOSC for example.
24/7 Scheduler: You can make your schedule and activate the effect you want based on the hour and day of the week.
Video Mapping: An 80x12 RGB LED grid with 3 videos activated one at a time by a sequencer. Go in the media manager (Ctrl-U) to select your video files. You can easily add more videos by duplicating one of the existing scenes and linking the grid's backgrounds to your new videos. As a bonus, if you put some good music on, the BeatMachine grid will generate effects based on the music attributes.
LED Grid By Derek Parkins: A 7x7 LED grid showing multiple effects. Some are audio reactive and others have fixed parameters. A sequencer automatically activates the next effect on the music beats.
Color Harmonies: Generate color palettes based on a primary hue: complementary, analogous, triad, rectangle and square. Activate the grid one at a time to see the different palettes.
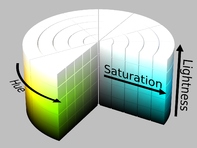
Color Transitions: Do nice color transitions by changing the hue and saturation at the same time in order to avoid going around the color wheel. Instead, the transition goes through the color wheel, like when using the RGB color model. The added benefit of using the HSL color model though, is that we control the light intensity independently. This sample project also shows how to automatically generate a color palette based on a primary color by shifting the hue component.
Starlight: Generate a starlight with any number of lights.
Explosive Pong: An amusing effect with multiple bouncing arrows making explosions along the sides.
Moving Heads Tracking a Target: Multiple moving heads are tracking a moving target.
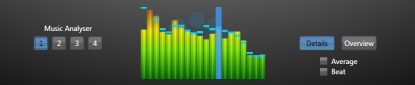
Music2Lights - Spectrum: Map the music spectrum to a 20x15 LED array. That's a classic sample to start with. The spectrum uses only one source with the shader mode. For comparison, another spectrum grid is also included using one source per frequency band. Other grids do effects with the starband, the beats and the BPM.
Music2Lights - One Light To Rule Them All: Automatically trigger effects based on the music features.
Music2Lights - Fun with music: Various effects with music mixing beat analysis and spectrum display. The default effect changes the color based on the primary music frequency. So high pitched music generates a blue-ish color while music with a lot of bass generates reddish color. The project uses your first sound card so you may want to change it and adjust the volume. Go in the View/Configuration menu and then in the music tab.
Music2Lights - Dancing Moving Heads: More advanced music2light effect using 20 moving heads (MAC 101). Put some music on and press Ctrl-M on the layout grid to see the lights crazy dance! If beats aren't properly tracked, be sure to adjust the music volume so you can see the beats when looking at the spectrum (if you don't see it, Lightjams doesn't see it).
Ambient Lighting (Ambilight): Video Colors To Lights. Extract the dominant colors of your media and use them to paint the lights! When you open this project, go in the media manager (Ctrl-U) to select your media. Look at the Video Walkthrough to setup your video input or screen capture.
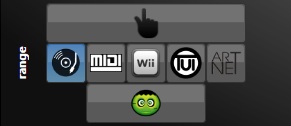
ArtNET to USB Interface Mapper: Map the ArtNET universe 0 to the USB interface. You can easily change the universe or use E1.31 input. In other words, this is an ArtNET to USB interface bridge, where the USB interface can be an Enttec Open/Pro or DMXKing.
OSC to DMX Mapper: Map the whole 512 incoming OSC values to 512 DMX channels. Can output using a USB interface, ArtNET and sACN.
MIDI Notes to Colors: Change the color of a RGB light based on the pressed midi notes.
sACN E1.31 + Sequencer: Effects are mixed together and constantly changing with a timer. The sequencer grid selects three effects at the same time: a hue, a primary intensity and a secondary one. Don't forget to press Ctrl-M to see the result!
DMX Triggers: Effects are activated via DMX input (universe 0, address 1 and up). For example: You can use a sequencer software like Vixen or LightoRama (LOR) and send DMX via E1.31 (or ArtNET) to Lightjams. This sample project shows two ways to trigger effects. 1 DMX Channel Per Effect: This allows you to independently control every effect, mix them and even control the fade in/fade out. So if you send 100% (255 in DMX) for channel 1, the effect #1 will be activated. If you send 50%, it will be half activated. If at the same time you send 100% for channel 2, then both effect #1 and effect #2 will be activated. 1 DMX channel to select the active effect: The value you send over DMX determine the active effect. So if you send 0 in DMX value (not percent), the effect #1 will be activated. If you send 1 in DMX value, the effect #2 will be activated, etc... This takes less DMX channels but you can't control the fades and as easily activate multiple effects at the same time.
Inspiration: Abstract effect playing with delays and signal repeating in order to get smooth and ever changing visuals.
Conway's Game Of Life: Nice generative visuals based on the music. Look at the whole message thread.
* Multiple effects can run at the same time but what makes sense is up to you.
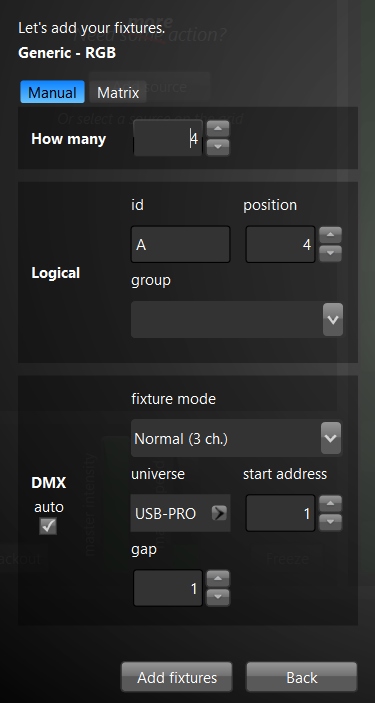
* Since the effect behavior is defined by the sources, you can easily reuse a project by replacing the patched fixtures with your own.